- Log in
- Favorites List
-
Shopping Cart
You have no items in your shopping cart.
Materials Testing EquipmentContact Us Today! 800-444-1508
Search
What Is Screen Tray Verification?
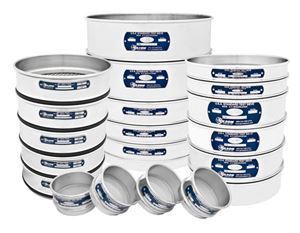
- Compliance Test Screen Trays are manufactured with wire cloth that has been inspected and measured in roll or sheet quantities prior to being cut and mounted in the individual screen tray frames. Opening sizes are not measured in individual screen trays. Each Compliance screen tray is supplied with a certificate of manufacturing compliance, but no statistical documentation is given. Compliance screen trays are designed for applications where a basic, reliable degree of accuracy and repeatability are sufficient.
- Inspection Test Screen Trays have a specified number of openings measured in each screen tray after the cloth is mounted in the frame. There is a 99% confidence level that the standard deviation of these openings is within the maximum allowed by ASTM. Inspection screen trays are a good choice in applications where accuracy and repeatability are critical. Each Inspection screen tray consists of a Compliance screen tray with added Inspection screen tray Verification service.
- Calibration Test Screen Trays have about twice as many openings measured as Inspection screen trays. The higher number of openings measured on each screen tray increases the confidence level to 99.73% that the standard deviation of these openings is within the maximum allowed by ASTM. Calibration screen trays should be used in applications where a very high degree of accuracy is required. Each Calibration screen tray consists of a compliance screen tray with added Calibration screen tray Verification service.
Ordering All Gilson screen trays meet ASTM or ISO requirements for Compliance Test screen trays. Ordering additional verification services for each individual screen tray upgrades them to meet Inspection or Calibration specifications.

