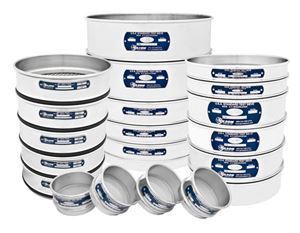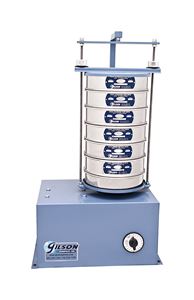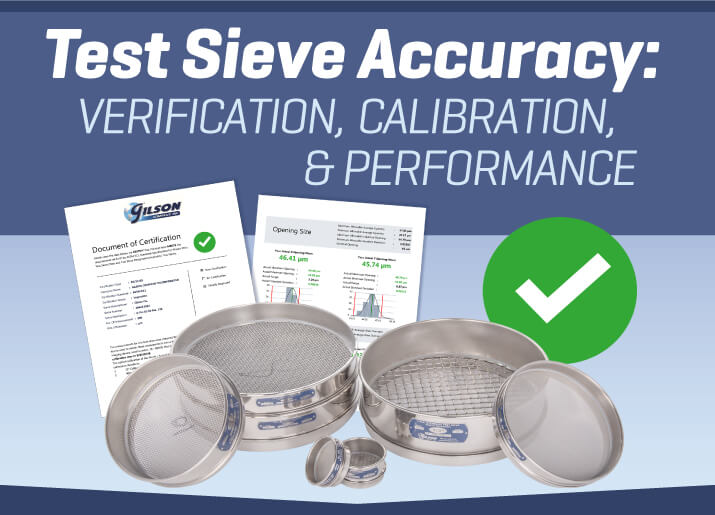
If accuracy is an obvious goal for sieving and particle size testing for any materials laboratory, what kind of accuracy is most important? Documentation that the sieves themselves meet ASTM E11 and ISO 3310-1 tolerances for opening and wire diameter dimensions goes a long way in assuring stakeholders that your tests provide a true picture of a material's particle size fractions and gradations. But what if two reputable laboratories end up with different results for the same material? If you verify the accuracy of a new sieve, how can you be sure it's still accurate this time next year? Is it ok to just comply with the specified tolerances of a nominal size rating, or is it better to establish the actual opening dimensions? In this blog post, we'll examine ways to ensure that your sieves or screen trays give you the information you need by looking at the language of sieve accuracy.
Verification
Sieve Verification, or certification, is the documented measurement and analysis of mesh openings and wire diameters in woven wire sieves. A specified number of mesh openings and wires are examined, and statistical calculations determine whether ASTM or ISO requirements have been met. Verification is also available for Testing Screen and Porta-Screen screen trays. Verification tells you whether the openings are likely to be within the specified range of tolerances. Choose Verification Services when documentation is needed to demonstrate that sieves comply with the stated tolerances.
ASTM International (American Society for Testing and Materials) and ISO (International Organization for Standardization) publish standard specifications for test sieves. Both ASTM E11 and ISO 3310-1 specifications have similar requirements and divide test sieves into Compliance, Inspection, and Calibration classes based on statistical analyses of their mesh opening sizes and wire diameters. ISO 565 provides additional information on nominal opening sizes and size series, size selection, and supplementary sizes.
Verification services are purchased by specifying the add-on service when ordering new Compliance grade sieves or screen trays.
- Compliance Test Sieves
These are standard, "off-the-shelf" test sieves provided for most orders. Wire mesh is inspected and measured in roll or sheet quantities before installation in individual sieve frames. Individual openings and wires are not measured on the assembled sieves, and the included certificate of manufacturing compliance does not include statistical documentation. Compliance sieves provide a basic level of accuracy and repeatability at an affordable cost. - Inspection Test Sieves
To verify Inspection Sieves, an NIST traceable optical comparator is used to measure a specified number of mesh openings and wire diameters in each sieve. Statistical calculations confirm, to a minimum confidence level of 99%, that the standard deviation of these openings meets ASTM or ISO specifications. Thus, inspection sieves are ideal for applications where accuracy and repeatability are critical. Each sieve includes documented verification of measurements and statistical data. - Calibration Test Sieves
Calibration sieves undergo a process similar to Inspection sieves, but about twice the number of openings and wire diameters are measured. The additional data increases the statistical confidence level to 99.73%, and the standard deviation values are within the maximum allowed by ASTM or ISO. Calibration sieves should function as reference sieves in laboratory quality control programs or where tests require a high degree of documented accuracy. Documentation for each sieve verifies measurements and statistical data.
Calibration
The term calibration sometimes describes the process of adjusting a test instrument to meet specific tolerances or specifications of accuracy. However, The woven wire mesh of a test sieve cannot be altered once manufactured. Still, indirect measurements can be made to ascertain the actual mean (average) opening size of an individual sieve. So, the mean opening size of a calibrated sieve may be within acceptable tolerances but slightly different from the nominal size.
Precisely sized spherical glass beads, certified as Standard Reference Materials (SRMs) and traceable to NIST or the European Community Bureau of Reference (BCR), are sieved by the user in a specified manner. The mean opening size is calculated by plotting percentages of the total mass of the glass beads retained or passing the sieve mesh against the known size distribution of the beads on a calibration chart provided by the manufacturer.


Sieve calibration with SRMs can be performed in-house by the user and avoids removing the sieves from service for shipping to a metrology lab. It can be a good choice when the actual opening dimensions of test sieves are critical.
Performance
Sieve performance tests determine the percentages of a known reference material retained on or passing the test sieve mesh. The reference material could be an SRM or a sample of a material selected or fabricated by an end-user for their own quality control program. The goal is to establish a performance relationship between a master sieve or set of sieves and working test sieves with the same opening sizes. This relationship is beneficial when testing a limited number of material types in separate laboratories.
Laboratories can develop and maintain their own reference materials, master sieves, and working sieves using methods in ASTM E2427, thus allowing complete control of their quality control program and minimizing downtime. However, these methods might not detect opening dimensions and wire diameters that exceed allowable tolerances, and non-standard reference materials may not be traceable for documentation.
Master-Matched Sieves are another type of performance-tested sieve where the master sieve and reference materials are maintained by Gilson. These sieves are 8in diameter stainless steel or combination brass/stainless steel sieves in sizes from No. 325 to No.8 (45µm to 2.36mm).
Master-Matched sieves or complete sieve sets are tested before shipment using verification measurements, standardized sieving methods, and traceable SRMs to match performance to a set of master sieves.
Each sieve is verified to Inspection grade tolerances, and then performance-paired to the master set and documented. Master-Matched sieves ensure increased uniformity and traceability for long-term repeated testing of a material, or when multiple labs are testing the same material. Internal performance tests of a Master-Matched sieve will demonstrate when it is ready for replacement with a new sieve matched to the original master.
Monitoring Sieve Accuracy
Periodically remeasuring opening and wire sizes or validating the ongoing performance of working test sieves is just as important as checking new sieves. Over time, wire cloth stretches, sags, and even tears with age. Abrasive materials wear away the wires, enlarging the sizes of individual openings. Dented frames change the tension of mounted wire mesh. Scheduled inspections of working sieves track their accuracy and let you know when it's time for a replacement. When setting up a monitoring program, testing labs have several options.
- Inspection or Calibration grade sieves can be Reverified by returning the sieves to Gilson.
- Performance-tested sieves can be monitored in-house by retesting with SRMs or other reference materials.
- Master-Matched sieves and sieve sets can be monitored internally with reference materials for drifting performance results.
- Planned test sieve accuracy checks can repeat the same method as the initial tests or be a blend of methods. Performance tests with SRMs can monitor output from verified inspection or calibration sieves to predict when they should be reverified or replaced.
We hope this article has helped explain the options available for purchasing and maintaining test sieves that have documented accuracy.
Gilson Is Here to Help
Contact our testing experts for more information or to discuss your testing application.
Testing Resources
Standard Test Methods, Specifications, and Practices
Individual test methods and specifications referenced in our product descriptions, blog articles, and videos are available for review or purchase from the professional organizations noted.
- ASTM International (American Society for Testing and Materials)
- AASHTO (American Association of State Highway and Transportation Officials)
- ACI (American Concrete Institute)
- State DOTs (Departments of Transportation)
- ISO (International Organization for Standardization)
- BS (British Standards)
- EN (European Standards)
