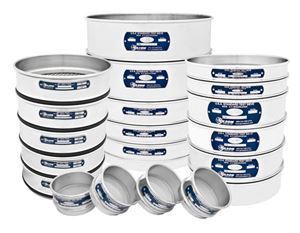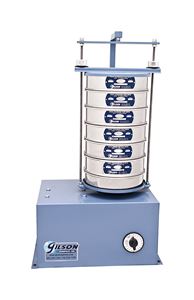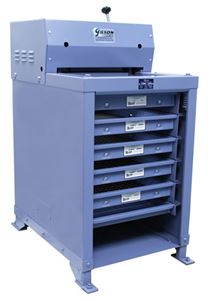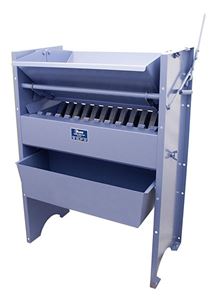
Ongoing refinements to the American Society for Testing Materials (ASTM) Standard E11 have resulted in more precise definitions of a sieve’s reliability and accuracy. While sieves come in a variety of different shapes and sizes, the purpose of a sieve is always the same: Separate particles into size fractions. Along with the huge selection of sieve sizes, there are also three different grade selections. How do you choose which grade is ideal for your purposes? Have no fear, because we’re here to help suggest the ones that best fit your requirements.
Introduction to sieve grades
All sieves are made exactly the same way whether they’ll be used as Compliance, Inspection, or Calibration sieves. Both ASTM and the International Organization for Standardization (ISO) feature three levels of verification for measurement of sieve openings and wire diameters to confirm compliance with the standards set for the industry. Inspection and Calibration sieves often cost more. Why? Both include analysis of wire cloth openings and wire diameters to verify their compliance with the standards. The result is increased accuracy, repeatable verification, and a much more versatile product.
Continue reading and we’ll help you distinguish the differences in grades even further by breaking each of them out, one by one.
Compliance grade
This grade is the most basic. Each is supplied with a certificate of manufacturing compliance and a serial number, but no statistical documentation. It has been manufactured with wire cloth that’s been inspected and measured in rolls of sheet quantities prior to being cut and mounted in the individual sieve frames. It has a statistical confidence level of 66% that opening sizes meet applicable standards and is designed for applications where a basic degree of reliability and repeatability are sufficient. These are the “working man” of sieves and represent the majority of sieves in use today. Both Inspection and Calibration Grade sieves are simply Compliance sieves subjected to additional measurements and verified to meet the specified requirements.
Inspection grade
This grade has a specified number of openings measured in each sieve after the cloth is mounted in the frame. There is a 99% statistical confidence level that the standard deviation of all openings meets the specifications of ASTM or ISO. Inspection Grade sieves work well for applications in which repeatability is critical. They’re especially helpful when documentation of accuracy is required by internal or external policies.
Calibration grade
For this grade, about twice as many individual openings are measured, in comparison to the Inspection grade. The higher number of openings measured on each sieve increases the statistical confidence level to 99.73% that the standard deviation of these openings is the maximum allowed by ASTM. Calibration Grade sieves should be used in applications where a very high degree of accuracy is necessary. These sieves are best when you need to verify that your working sieves meet ASTM or ISO requirements.
Importance of ongoing verification
Ongoing verification of a used sieve is just as important as starting with a reliable new one. Over time, wire cloth stretches, moves, sags, and even tears with age, and abrasive materials can change the size of individual openings. With that in mind, you should be sure to set up a schedule to re-verify that your sieves are working properly and meet their minimum requirements. Onsite tests can be performed in a variety of ways or sieves can be returned for re-verification based on testing in the lab where you purchased the sieve.
Gilson Is Here to Help
Contact our testing experts for more information or to discuss your testing application.
Testing Resources
Standard Test Methods, Specifications, and Practices
Individual test methods and specifications referenced in our product descriptions, blog articles, and videos are available for review or purchase from the professional organizations noted.
- ASTM International (American Society for Testing and Materials)
- AASHTO (American Association of State Highway and Transportation Officials)
- ACI (American Concrete Institute)
- State DOTs (Departments of Transportation)
- ISO (International Organization for Standardization)
- BS (British Standards)
- EN (European Standards)


